
Positions, Formations & Lineups
A formation decides the shape. Who actually fills each spot in it is a separate decision, and Goal Legends keeps the two apart on purpose. This page covers the ten positions on the pitch, the six formations available, and how a matchday squad, starting eleven plus bench, actually gets built.
Ten positions on the pitch
Every player and every formation slot is drawn from the same ten positions: goalkeeper (GK), left back (LB), centre back (CB), right back (RB), defensive midfielder (CDM), central midfielder (CM), attacking midfielder (CAM), left winger (LW), right winger (RW) and striker (ST). Every formation in the game is built entirely out of these ten, just in different numbers and different arrangements.
Natural position vs. where you've put them
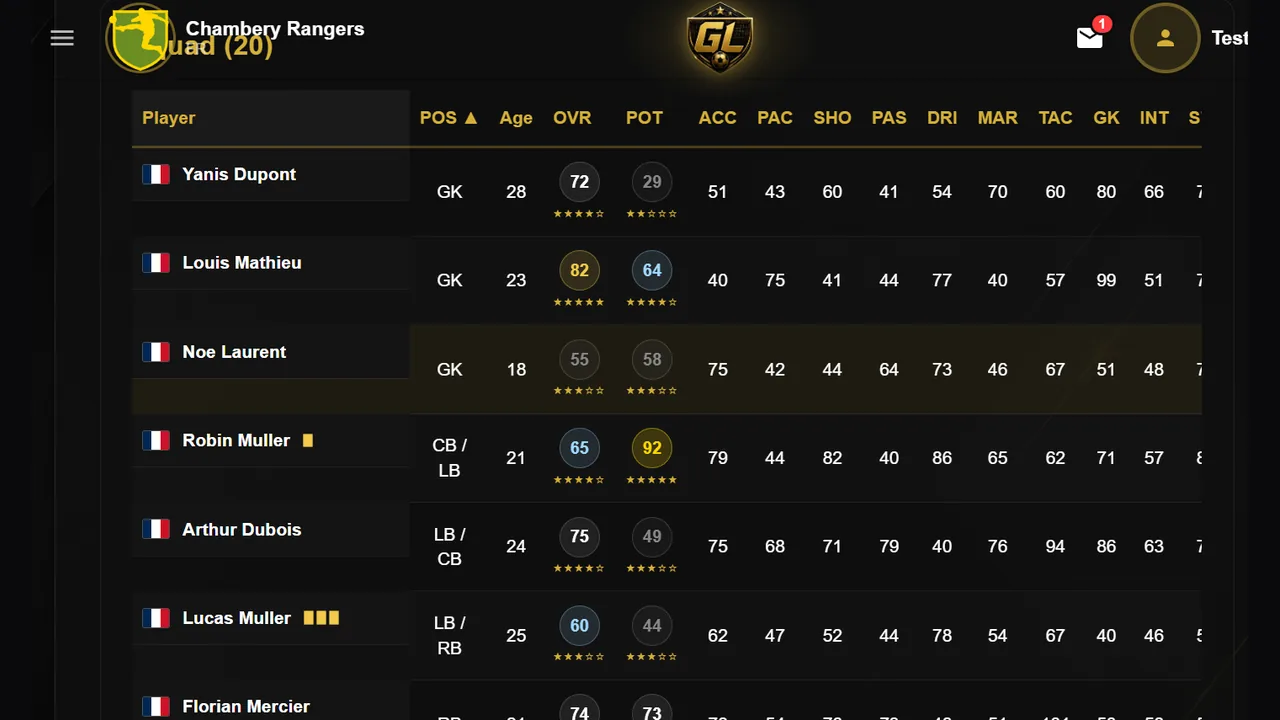
Every player carries a list of natural positions, the roles they're actually suited to. That list is kept separate from their lineup position, wherever you've put them in your current XI right now, and the two don't have to match. You can select a player outside their listed natural positions if you want to, whether that's converting a winger into a wing-back for one match or shifting a central midfielder out wide. The game allows it; it isn't blocked as an invalid selection. It's a real choice on the team sheet, not an error state you've stumbled into.
The six formations
There are six formations to choose between: 4-3-3, 4-4-2, 4-2-3-1, 3-5-2, 3-4-3 and 5-3-2. Each one is a fixed arrangement of the ten positions above: a back four or a back three, one or two holding midfielders, one or two strikers, and so on. Switching formation reassigns where each of your players is asked to stand without changing who they are; the same squad can be set out in any of the six.
- 4-3-3, 4-4-2 and 4-2-3-1 build from a back four.
- 3-5-2 and 3-4-3 build from a back three, with the outside defenders pushed on as wing-backs.
- 5-3-2 builds from a back five, with a wing-back on each side of a three-man central defence.
Formation choice doesn't touch a player's own natural positions, only where the shape asks them to stand for that match. Reusing the same ten position codes across all six shapes also means a wing-back in 3-5-2 is drawn from the same LB/RB pool as a full-back in 4-3-3, and a wide attacking midfielder in 4-2-3-1 is drawn from the same LW/RW pool as a winger in 4-3-3, even though the role on the pitch reads differently.
The bench
Alongside your starting eleven, a matchday squad includes a bench. Being on the bench rather than in the XI is tracked directly on the player, and so is the order the bench is listed in, which determines how a squad list actually reads when you or an opponent looks at who's in reserve for that fixture. A player can only occupy one of the two states, on the pitch or on the bench, never both, and moving someone between them is what frees up or fills the corresponding slot in the other.
Where the lineup actually gets set
Formation, natural-position fit and the bench all come together on the lineup screen, where you place players into the shape you've chosen and decide who's held in reserve. It sits right next to the tactics screen: six separate settings, covered in the next guide, that layer on top of whatever formation and XI you land on here.