
Tactics Explained
Once your formation and lineup are set, six more settings decide how your team actually plays: how hard they press, how quickly they move the ball, how it gets built up and spread across the pitch, how high the back line holds, and how defenders track their opponents. The match engine reads all six before a ball is kicked, and this page covers what each one actually changes.
Pressing Intensity and Tempo
Pressing Intensity, Low, Medium or High, controls how aggressively your team hunts for the ball when it doesn't have it. A higher setting tries to win possession back further up the pitch, and it costs more running to do it; a lower setting sits off and lets the opponent have the ball in areas that matter less.
Tempo, Slow, Normal or Fast, controls how quickly your team looks to move the ball forward once it has it. A faster tempo gets into dangerous areas sooner and creates more moments over the course of a match; a slower tempo keeps possession longer before committing to the next pass.
Passing Style and Width
Passing Style is Short, Balanced or Direct. Short passing builds an attack through more players touching the ball on the way forward. Direct skips that build-up phase and looks for the ball early instead, which changes who actually gets involved in a move: a target man sees a lot more of the ball under a Direct setting than a passing midfielder does.
Width is Narrow, Balanced or Wide, and it controls how far apart your players spread across the pitch. Wide stretches an opponent's shape from side to side; Narrow keeps your own players compact through the centre instead.
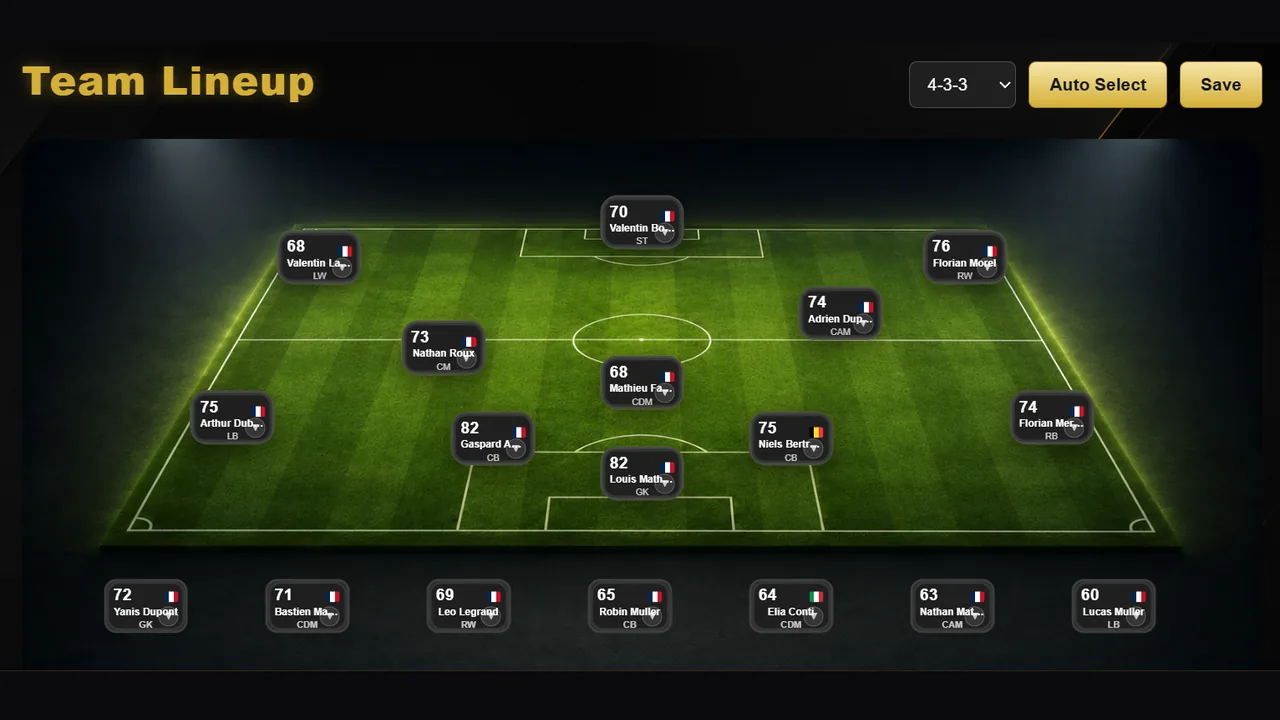
Defensive Line and Marking Scheme
Defensive Line is Deep, Normal or High, and it sets how far up the pitch your back line holds its position. A high line squeezes the pitch for your own midfield and attack, and it invites a ball played in behind for anyone quick enough to chase it down; a deep line protects that space but gives up the ground in front of it instead.
Marking Scheme is either Zonal or Man-Marking. Zonal has each defender respond to a patch of the pitch, picking up whoever comes into it; Man-Marking assigns a defender to a specific opponent and has them follow that player around instead.
Corners
Corners have their own settings on the Set Pieces page, one for attacking and one for defending. In attack you choose where your runners go: spread over the box, overloading the near or far post, or crowding the keeper. In defence you choose between a mixed setup, holding zones, or marking a man each. The page shows where your own starting eleven would stand.
Set before kickoff, club and country separately
All six settings are locked in ahead of time. Like the rest of your matchday preparation, the match engine reads your tactics once at kickoff, and there's no adjusting them mid-match while a game is being simulated. The match itself plays out possession by possession once it starts, so whatever combination of settings you've chosen is what the whole fixture runs on.
If you manage a national team as well as a club, the two carry entirely separate tactical setups: changing your club's pressing or width has no effect on how your country lines up, and the other way round, so it's worth checking both if you're active in both places. The same six settings apply to a national side, they're just configured independently of whatever your club is currently running.